Showing posts with label recipe. Show all posts

Saturday, January 12, 2019

Cheesy Cheddar Quick Bread

I really enjoy making quick breads.  Because I made a resolution to cook a new recipe every week, I went searching for a recipe for one, and this one from Crafty Cooking Mama looked delicious.

Cheesy Cheddar Quick Bread

Ingredients:
2 cups all-purpose flour
4 teaspoons baking powder
1 tablespoon sugar
1 1/2 teaspoons garlic powder
1/2 teaspoon salt
1 1/2 cups shredded cheddar
1 cup milk
1 large egg beaten
2 tablespoons butter melted

Instructions:
Preheat oven to 350°
Grease/spray a loaf pan.
In a large mixing bowl, whisk together flour, baking powder, sugar, garlic powder and salt. Stir in shredded cheese. Set aside.
In a separate bowl, whisk together milk, egg, and butter.
Add liquid ingredients to bowl of dry ingredients. Stir until just combined. Do not overmix. Spoon/pour into loaf pan.
Bake for 45-50 minutes. Top should be a golden brown.
Cool on wire rack.
Remove loaf from pan, slice, and serve.

The dry ingredients

The wet ingredients

The batter all mixed up

The finished product! :)

I am bringing this to work in the morning to share with everyone, so I haven't tried it yet.  It looks really good, and I hope it tastes as good as it looks!

Friday, February 24, 2012

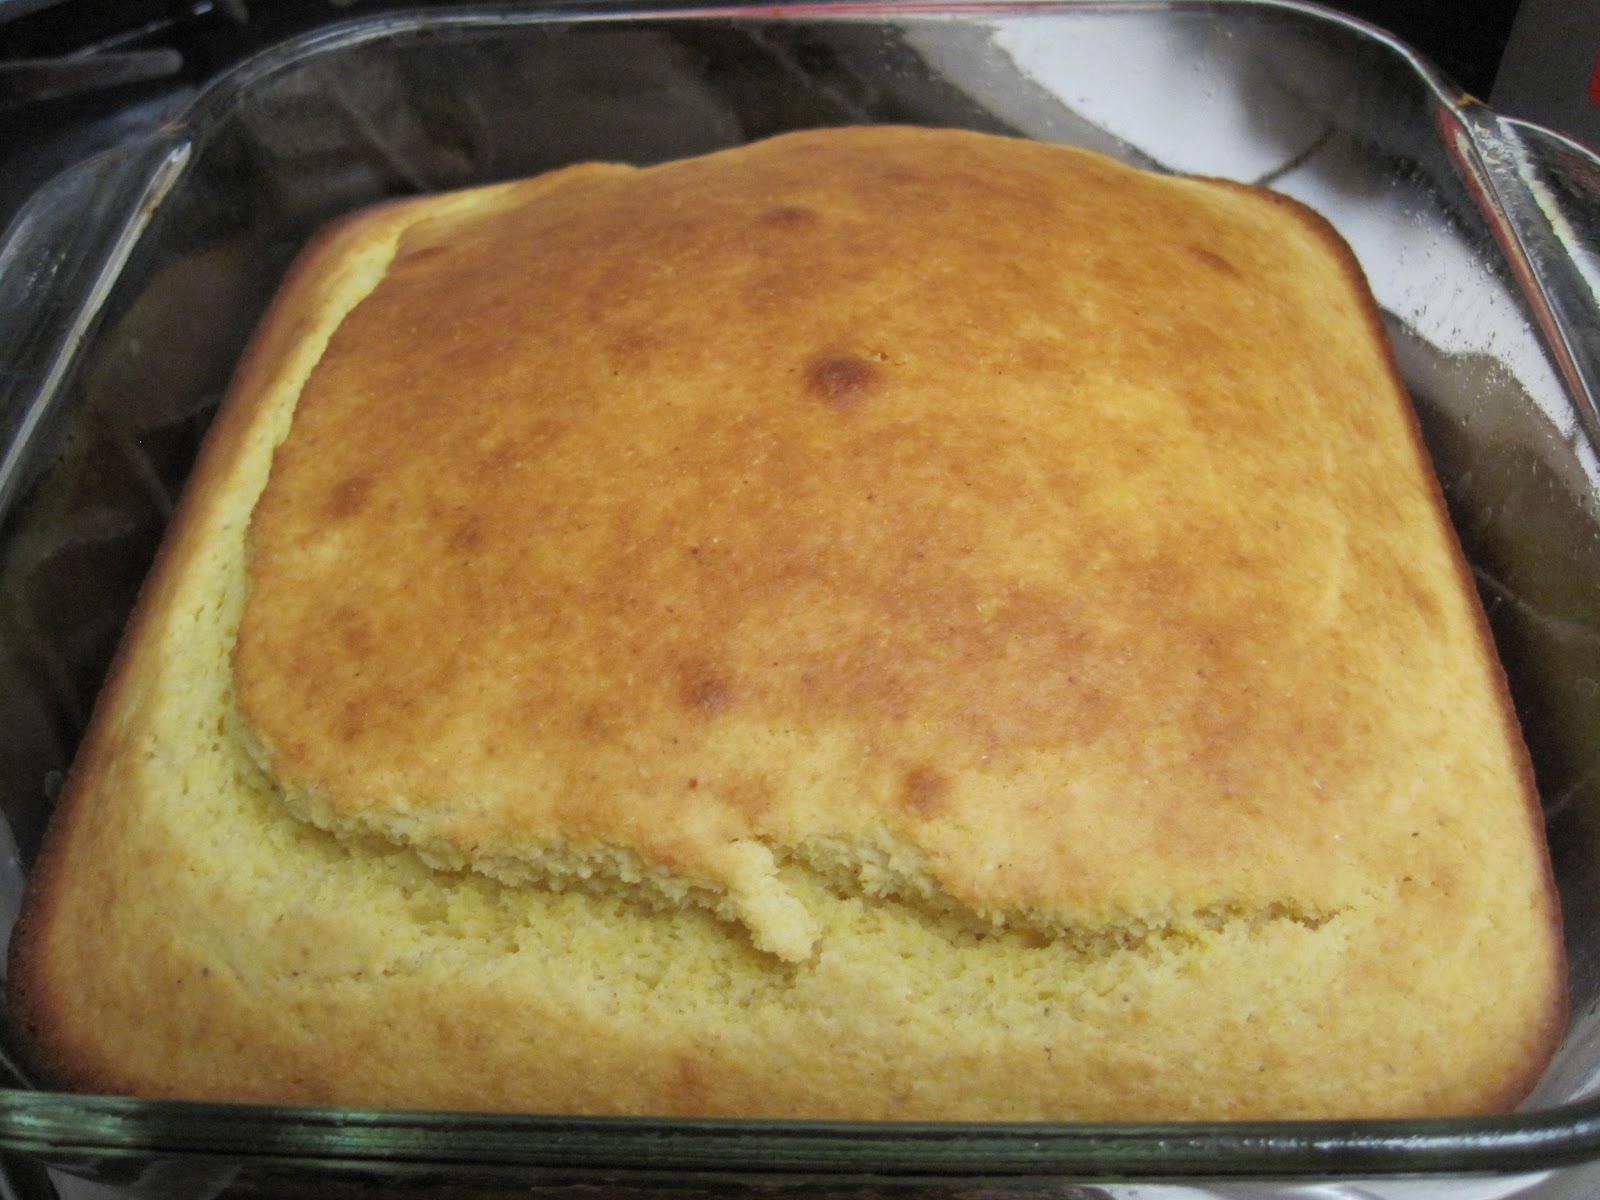
Cornbread

My grandpa really likes cornbread and rarely gets it - so I made him some!  He finally tried it tonight and liked it...yay!  It wasn't quite sweet enough for my taste, so while the below recipe (from a package of Walmart corn meal) is good, I might look around for a sweeter one :)

1 cup yellow corn meal
1 cup all-purpose flower
4 tbsp sugar
4 tsp baking powder
1 tsp salt
1 cup milk
1 egg
1/4 cup vegetable oil

1. Preheat the oven to 425 F.

2. Combine the dry ingredients in a large bowl.  Then add the wet ingredients.


3. Mix until the batter is mostly smooth, a little less than a minute did it for me.

4. Bake in a greased square pan for 23-25 minutes or until golden brown on top.


Enjoy!

I learned while talking to some facebook friends that cornbread is only an American food.  None of the Europeans or Australians had ever tried it.  Who knew???

Monday, February 20, 2012

Chocolate Chip Muffins

I recently made chocolate chip muffins for my grandparents.  I used the recipe at Cupcake Rehab located here.  Her tops came out crumbly looking and mine came out smooth so they are a bit different - but I tried my best to follow her recipe exactly.  They tasted good and that's all that really matters to me in the end!

2 cups all-purpose flour
1/3 cup light-brown sugar
1/3 cup sugar
2 teaspoons baking powder
½ teaspoon salt
2/3 cup milk
½ cup butter — melted and cooled
2 eggs – beaten
1 teaspoon vanilla
6 ounces mini chocolate chips (I used regular because I couldn't find minis)

1) Preheat oven to 400 F. and grease up twelve muffin cups or put liners in them.  I did liners.


2) In a large bowl, stir together flour, sugars, baking powder, and salt.


3) In another bowl, stir together milk, eggs, butter, and vanilla until blended.


4) Make a well in center of dry ingredients; add milk mixture and stir just to combine.


5) Stir in chocolate chips.


6) Spoon batter into muffin cups, filling them as much as possible; bake 15-20 minutes, or until a toothpick inserted in center of one muffin comes out clean.


7) Remove muffin tin to wire rack; cool 5 minutes and remove from tins to finish cooling.

Enjoy!


Sunday, January 29, 2012

Hash Brown Casserole

We make hash brown casserole all the time in my house...I can't believe I have never blogged about it!

2 pound bag of frozen hash brown potatoes
2 tablespoons minced onion
1 can of cream of mushroom soup (or cream of anything soup)
1 pint sour cream
2 cups shredded cheese
1 stick of butter, melted
salt and pepper to taste

Preheat oven to 350.

1. Combine all ingredients (minus the butter) in a bowl and mix until well blended.


2. Melt butter in a 9x12 baking dish.  Spread butter in pan and pour the rest into the bowl to mix in.  Add mixture to the 9x12 pan.


3. Bake for 1 hour at 350 degrees or until brown on top.


Yum!  One of our favorites :)

Friday, January 27, 2012

Carrot Casserole

I have to start by saying I hate carrots.  I don't like them cooked or raw.  I have no idea why I like this carrot casserole - but I absolutely love it!

4 large carrots, peeled and cut into pieces
1 cup flour
1/2 cup white sugar
1/2 cup brown sugar
1/2 cup oil
2 large eggs
1 1/2 teaspoons baking powder
1 teaspoon vanilla

Preheat oven to 350.

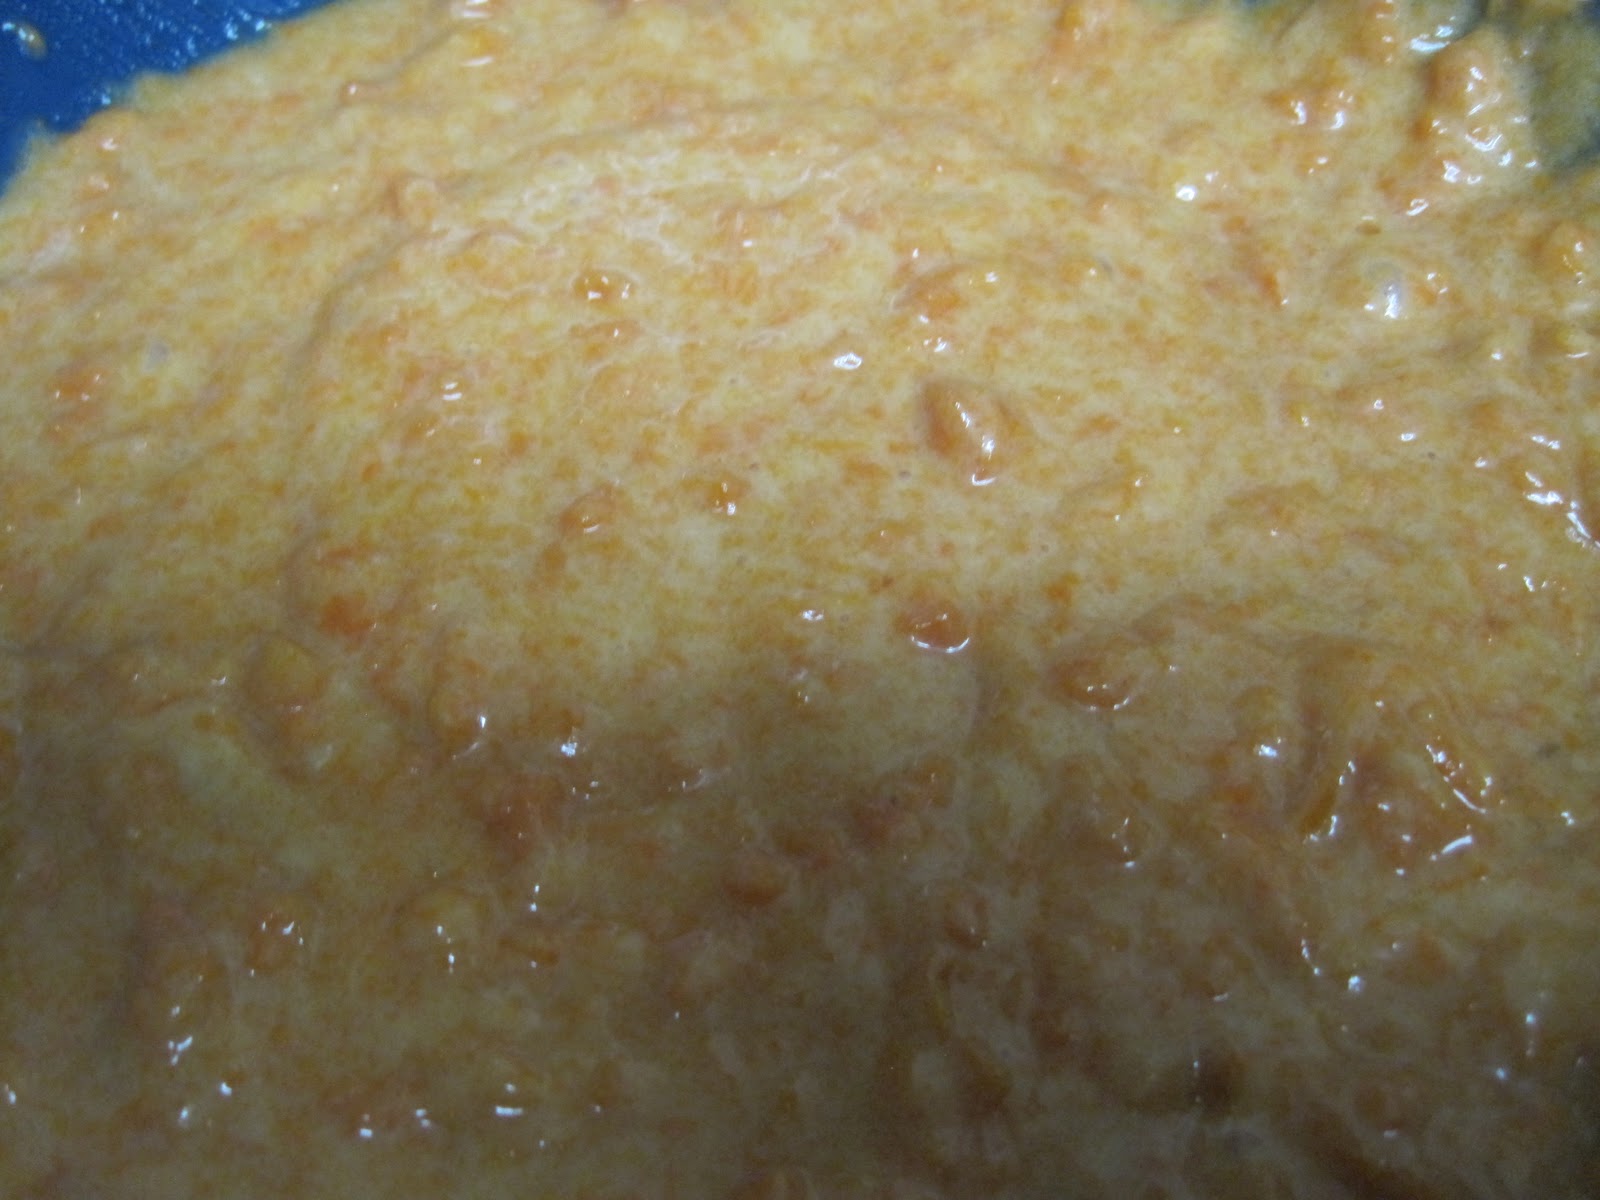
1. Boil carrot pieces in water for 25-30 minutes. They should be very soft. Drain and mash with a potato masher.


2. Add in remaining ingredients and mix until well blended.


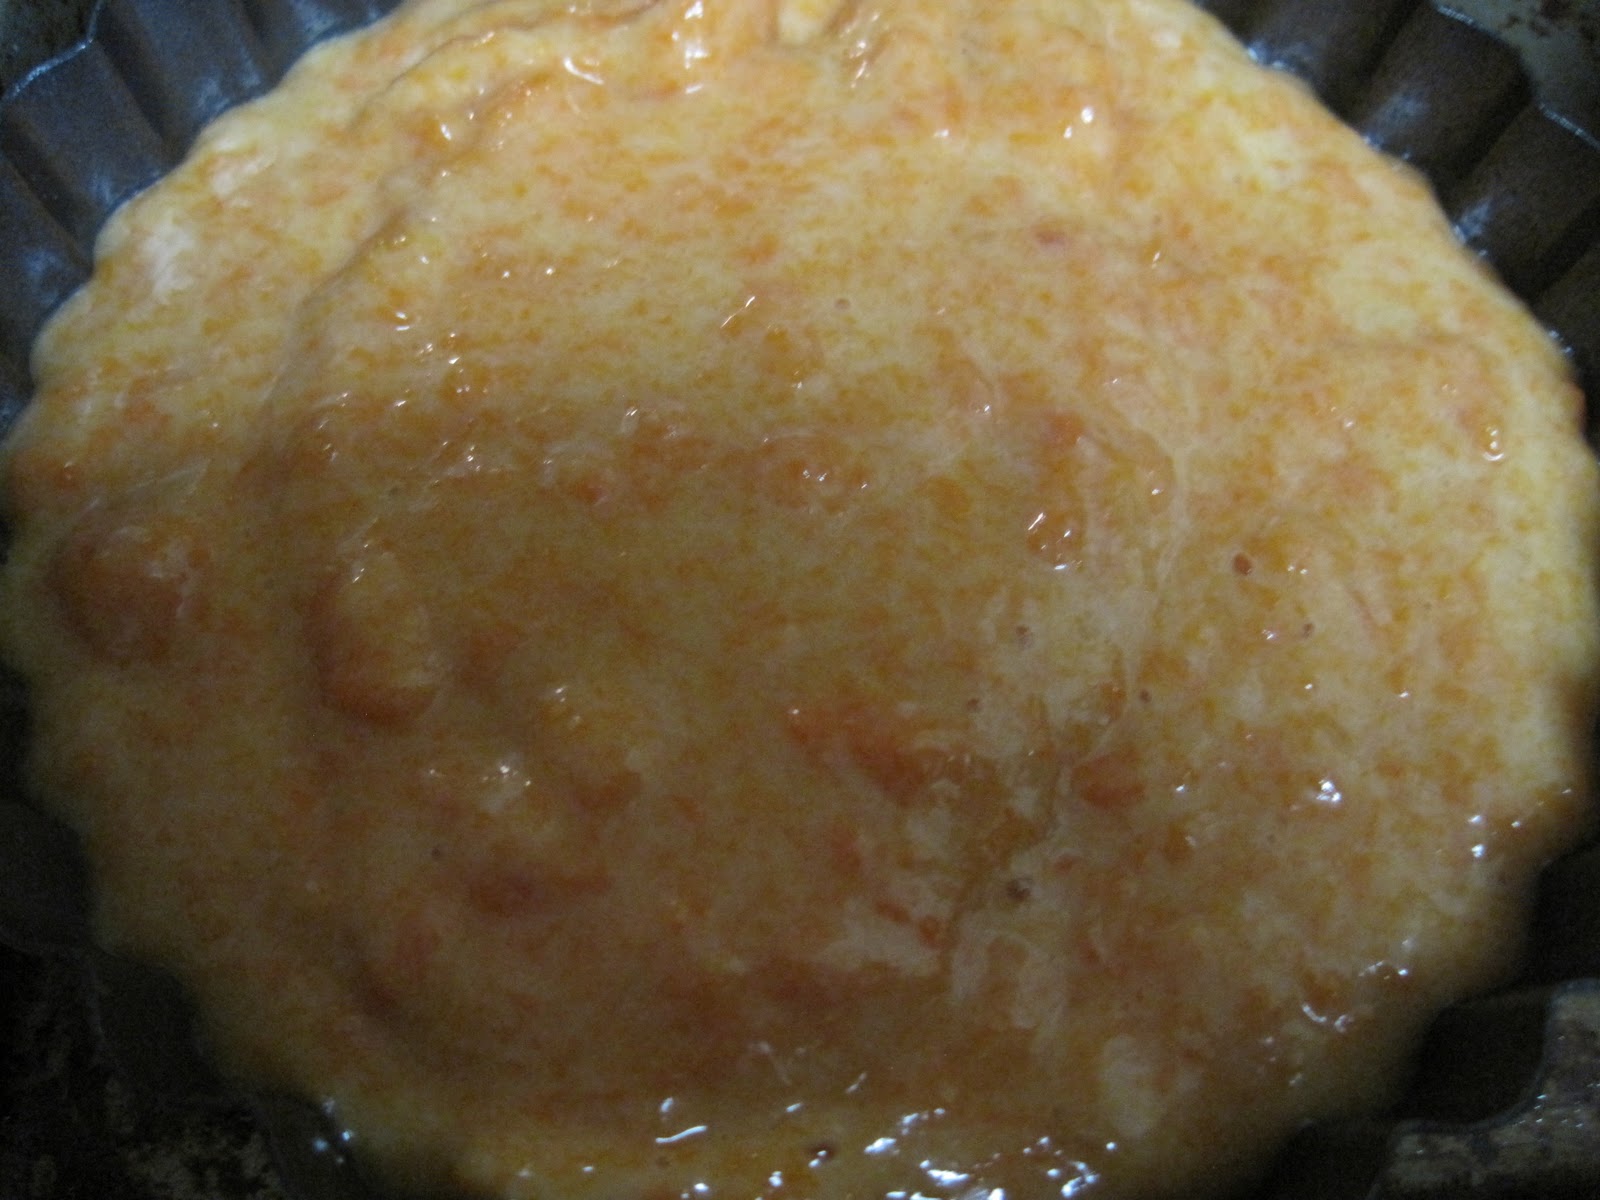
This is what the batter should look like before you pour it into the pan.

3. Pour into a springform pan (or many little pans like I did) and bake at 350 degrees for 50-60 minutes. You'll know it's done when you can insert a toothpick and it comes out clean!


Enjoy! :)

Sunday, January 15, 2012

Zucchini Casserole

I only eat a few vegetables, so remembering to eat even 1 vegetable per day can sometimes be a challenge.  Zucchini is one of the few veggies I can stand so I try to find new recipes including so zucchini so I am not just always eating it sauteed.  I found a great recipe on Food.com that my whole family loved!

1 cup Bisquick
1/2 cup chopped onion
1/2 cup grated cheese
1/2 teaspoon salt
1/2 cup vegetable oil
4 eggs
3 cups thinly sliced zucchini

This recipe is really simple.

1. Mix all of the ingredients together in a bowl.

It was so easy to cut the zucchini using our mandolin!

Onions were cut with the mandolin and the little Tupperware hand chopper

Everything unmixed in the bowl.

2. Pour into greased 9x13 pan (we used a round pan instead)

That's what it should look like before you cook it.

3. Bake at 350 for 30 minutes.

This is what it should look like fresh out of the oven....yum

Just a slice...sorry it's blurry!

If you like bisquick, zucchini and cheese, this recipe is definitely for you.  We will definitely be making this again :)

Tuesday, January 10, 2012

Hot Artichoke and Spinach Dip

My mom has an awesome website called Recipe Barn that I love going to when I need to cook something amazing.  For the New Year's Eve party I went to - I just knew I wanted to bring her Hot Artichoke and Spinach dip!  As I hoped for, everyone loved it!  It goes great with any kind of chips - but I'm sure you could use bread as well.  Below is the recipe and pictures:

4 cloves garlic
1 (10 ounce) package frozen chopped spinach, thawed and drained
1 (14 ounce) can artichoke hearts, drained and chopped
1 (10 ounce) container Alfredo-style pasta sauce
1 cup shredded mozzarella cheese
1/3 cup grated Parmesan cheese
4 ounces of cream cheese, softened

Spinach and garlic (yes, I forgot to mash my garlic up and had to do it messily later)

Sliced up artichoke hearts

1. Preheat oven to 350. Place garlic in a small baking dish. Bake in the preheated oven 20 to 30 minutes, until soft. Remove from heat. When cool enough to touch, squeeze softened garlic from skins and mash it up.

2. Mix all of the ingredients together in a large bowl.

All of the ingredients - pre mixing of course


3. Pour/spread the ingredients into an 8x8 baking dish.


4. Cover and bake for 30 minutes, or until cheeses are melted and bubbly.  (I uncovered it at the end so it would get a little brown on top)

5. Serve warm.

Let me know if you decide to try this recipe out and if you like it!

Friday, December 2, 2011

How To: Bake Imitation Red Lobster Biscuits

Like most people, I love the biscuits from Red Lobster.  Since we don't have one within 30 miles of us, I googled how to make their biscuits at home.  I found a really simple recipe.  While I don't know if what I found is an exact duplicate, it is delicious and everyone at Thanksgiving dinner was thrilled!

2 cups Bisquick
2/3 cup milk (I used soy milk because we didn't have regular milk on hand)
1/2 cup shredded cheddar cheese (I used sharp cheddar)
1/2 cup butter or margarine, melted (I used stick butter)
1/4 tsp. garlic powder

1. Preheat the oven to 450 degrees.


2. Mix Bisquick, cheese and milk until a soft dough forms.  (I just did this with a big spoon.)


3. Drop by spoonfuls onto an ungreased baking sheet.


4. Bake 8-10 minutes until golden brown.  (I think ours cooked closer to 12.)


5. Mix melted butter and garlic powder in a bowl.


6. Brush mixture over warm biscuits before removing from baking sheet.


7. Enjoy!

Have you ever made a recipe to mimic one from a restaurant?

Monday, October 31, 2011

How to: Make Chocolate Truffles

My friend Danny talks about making truffles all the time.  We finally tried it out the other day.  Other than having too strong of a brandy taste, they were pretty good!  He found an Alton Brown Food Network recipe...it's below.

10 ounces bittersweet chocolate, chopped fine (we bought ours from Trader Joes)
3 tablespoons unsalted butter (we used salted)
1/2 cup heavy cream (the carton normally says heavy whipping cream)
1 tbsp. light corn syrup
1/4 cup brandy (I would suggest omitting this)

1/2 cup Dutch process cocoa powder, finely chopped nuts, and/or toasted coconut, for coating truffles (We only used Ghiradelli cocoa powder)
8 ounces semisweet or bittersweet chocolate, chopped fine (we used the same chocolate as above)


1. Place the 10 ounces of chocolate and the butter in a microwave safe bowl and microwave it for 30 seconds.  Remove, stir, and heat for 30 more seconds.  Set aside.


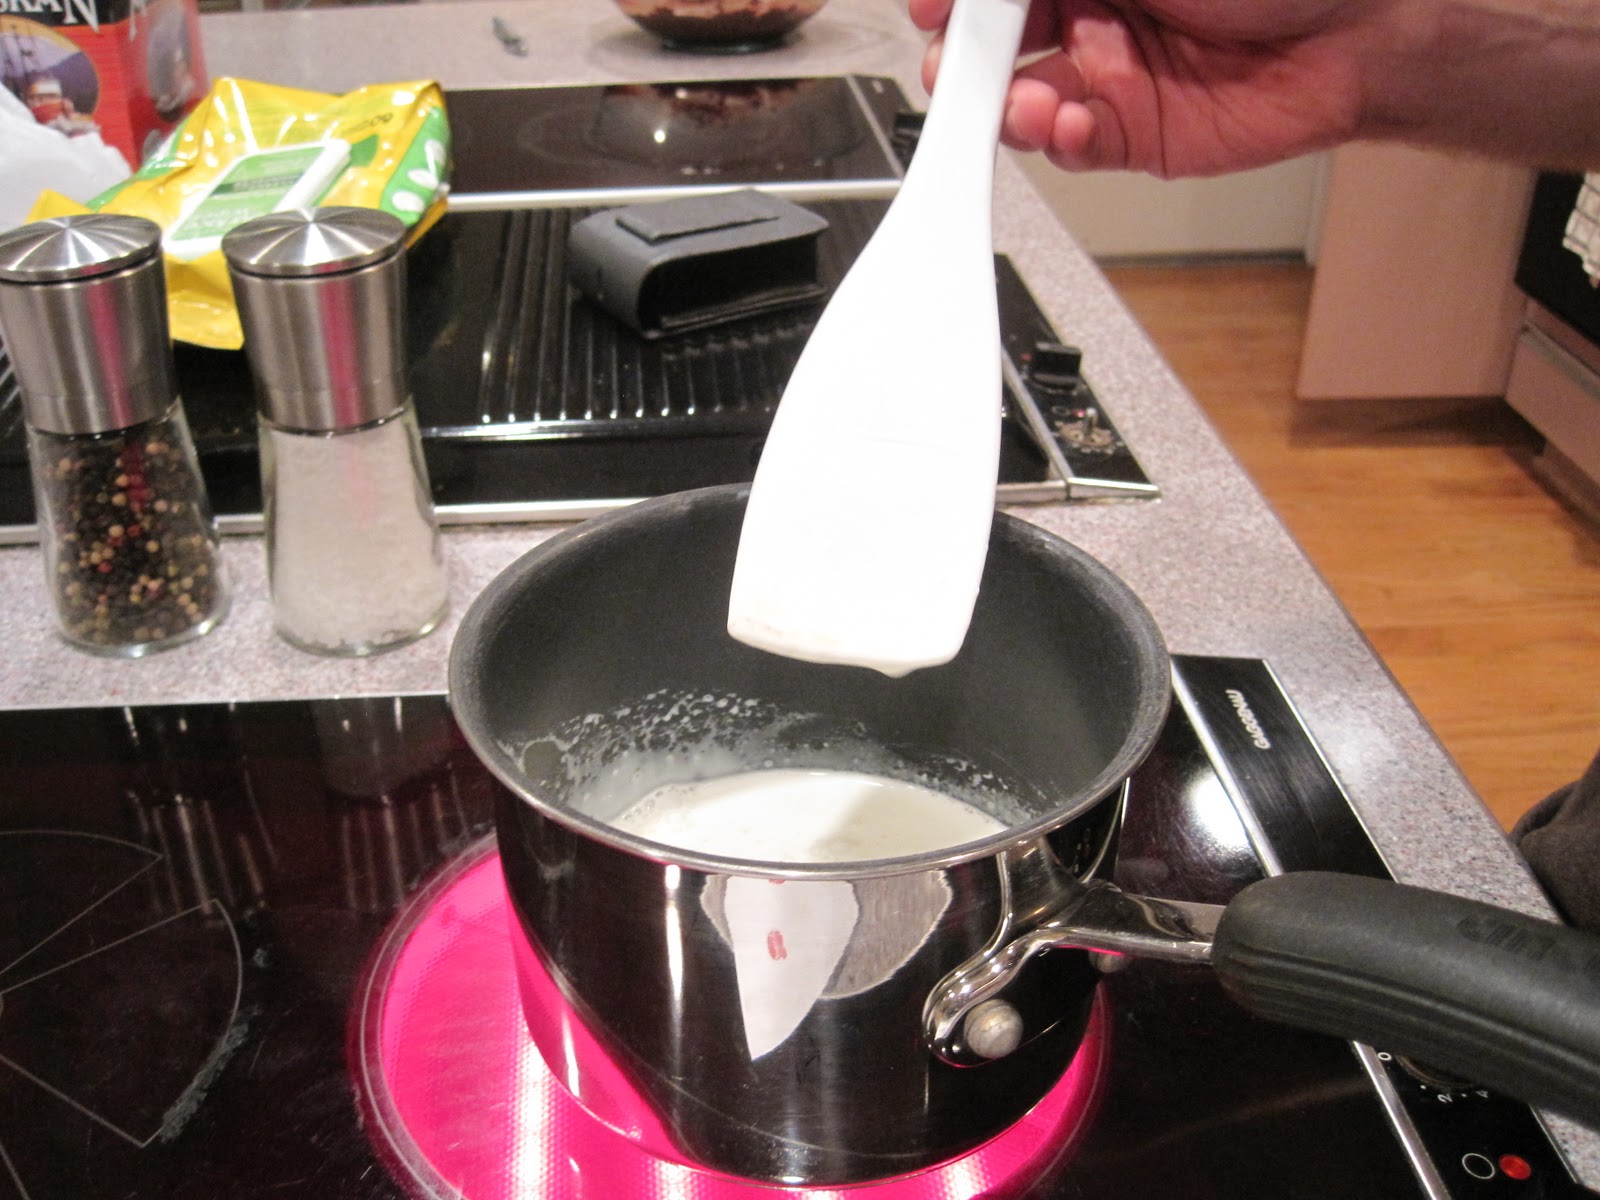
2. Heat heavy cream and corn syrup in a small saucepan over medium heat until simmering (simmering means a low boil). Remove from heat and pour the mixture over the melted chocolate mixture; let stand for 2 minutes. Using a rubber spatula, stir gently, starting in the middle of the bowl and working in concentric circles until all chocolate is melted and mixture is smooth and creamy. Gently stir in the brandy. Pour the mixture into an 8 by 8-inch glass baking dish (really you just want a shallow layer of chocolate) and place in the refrigerator for 1 hour.


3. Using a melon baller (or two teaspoons like us), scoop chocolate onto a sheet pan lined with parchment paper and return to the refrigerator for 30 minutes (a little longer might be better as ours were too soft).


4. Place the cocoa powder, nuts, and/or toasted coconut each in its own pie pan and set aside.


5. Place the 8 ounces of chocolate into a medium mixing bowl which is sitting on top of a heating pad lined bowl, with the heating pad set to medium. Depending on the heating pad, you may need to adjust the heat up or down. Stirring the chocolate occasionally, test the temperature of the chocolate and continue heating until it reaches 90 to 92 degrees F; do not allow the chocolate to go above 94 degrees F (ours definitely got hotter). If you do, the coating will not have a nice snap to it when you bite into the chocolate. Once you have reached the optimal temperature, adjust the heat to maintain it.

6. Remove the truffles from the refrigerator and shape into balls by rolling between the palms of your hands.


7. Dip an ice cream scoop into the chocolate (we failed at this and just threw the truffles into the melted chocolate) and turn upside down to remove excess chocolate. Place truffles 1 at time into the scoop and roll around until coated. Then place the truffle into the dish with either the cocoa powder, nuts or coconut. Move the truffle around to coat; leave truffle in the coating for 10 to 15 seconds before removing. In the meantime, continue placing the chocolate-coated truffles in the cocoa or other secondary coating. After 10 to 15 seconds, remove the truffle to a parchment lined sheet pan. Repeat until all truffles are coated.


8. Allow to set in a cool dry place for at least 1 hour; or store in an airtight container in the refrigerator. Truffles are best when served at room temperature.